You mark a wall for a new load path, drive a screw, and hit nothing but drywall. That single miss can shift a fastener off the framing member and weaken the connection you were counting on.
Knowing how to use a stud finder is the difference between a solid anchor and a callback.
For contractors and property owners working on structural framing, that first accurate mark matters more than the drill in your hand.
Buildwell Construction Drives Smarter Structural Framing
Key Takeaways
- Wall studs sit at standard spacing, 16 inches or 24 inches on center, which gives you a predictable grid to confirm your readings.
- A properly calibrated stud finder locates the edges of framing members, not the drywall surface, so you fasten into wood or steel instead of empty cavity.
- Choosing the right detector type helps reduce guesswork on deep walls, tiled surfaces, and layered assemblies.
Why Does Stud Location Matter for Framing Work?
A framing member carries load. Drywall does not.
When you anchor a ledger, a cabinet run, or a wall-mounted bracket, the fastener needs to bite into the stud to transfer weight safely.
Our team observed that most failed mounts trace back to a fastener that missed the member by an inch or less.
The American Wood Council publishes framing standards that confirm what field crews already know: studs run at consistent spacing.
That regularity is your best friend. Once you find one stud reliably, the next one is usually 16 inches away, and the pattern holds across the wall.
Learning how to use a stud finder correctly turns that spacing rule into a working map.
Concrete Pump Guide the Machine to Your Pour
How Do You Use a Stud Finder Step by Step?
The process is short, but each step affects the result. Skip calibration and every reading after it may be off.
Here is the sequence our contractors follow on site.
- Choose a clear starting point.
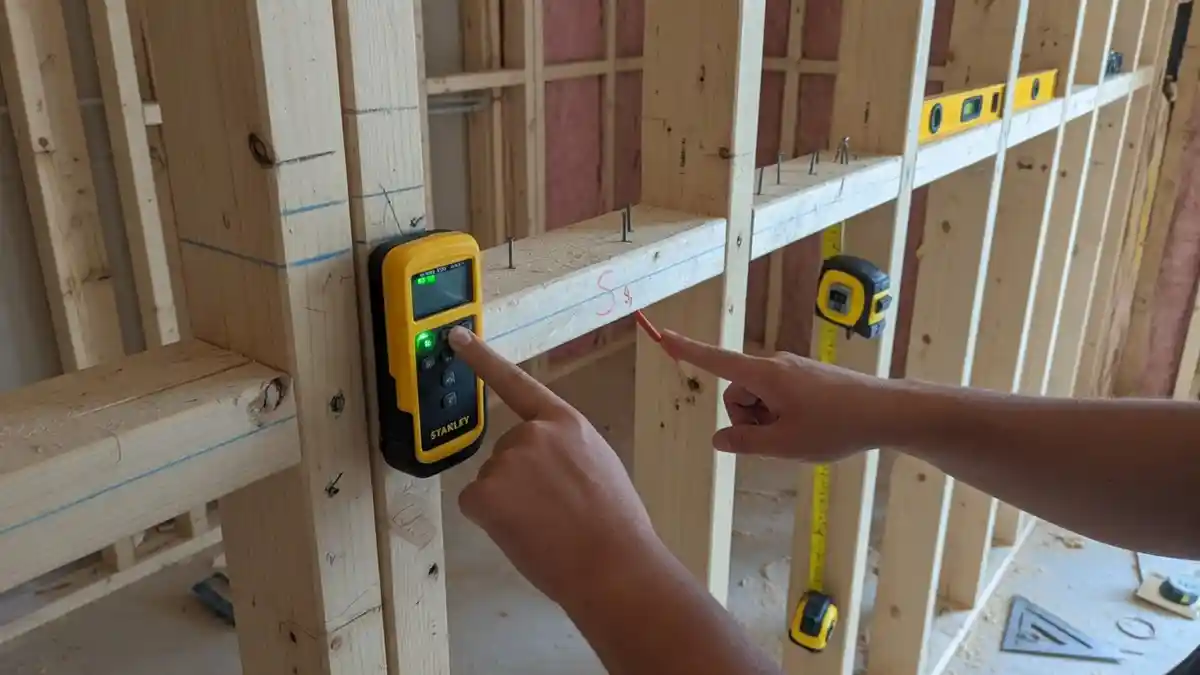
Pick a section of wall away from outlets, switches, and pipes, since metal and wiring can confuse a reading. - Calibrate the device on blank drywall.
Press the stud finder flat against the surface and hold the button until it signals ready, per the calibration step in the Lowe’s how-to guide.
This tells the device what empty wall looks like. - Slide slowly and horizontally.
Move the device across the wall at a steady pace.
Rushing is the most common reason a first pass misses the edge. - Mark the first edge.
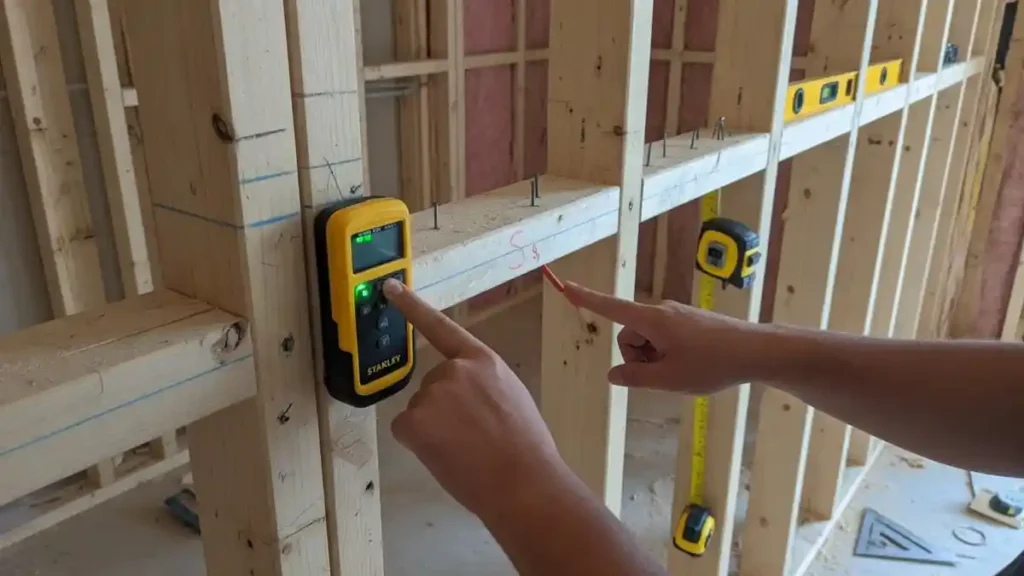
When the indicator lights or beeps, stop and mark the spot with a pencil.
That mark is one edge of the stud, not its center. - Find the second edge.
Continue sliding until the signal drops, then returns.
Mark that point too, and the center sits between your two marks. - Confirm with the spacing rule.
Measure roughly 16 inches or 24 inches to locate the next stud and verify your grid.
This cross-check is where how to use a stud finder becomes reliable rather than lucky. - Verify before you commit.
Drive a small test fastener or use a fine bit to confirm solid wood before mounting anything structural.
We found that step six catches most errors before they cost anything.
How to Conduct a Construction Site Risk Assessment
How to Use a Stud Finder Before You Frame
— US News (@Us_news_ways) August 18, 2026
Knowing how to use a stud finder is the difference between a solid anchor and a callback.@ThisOldHouse @lowesscwv @HomeDepot https://t.co/d0AJfOFJEV
What Should Midwest Contractors Watch For?
Wall assemblies are not always simple. Older Midwest homes may have plaster over lath, which throws off basic sensors.
Renovated commercial spaces can hide steel framing, insulation, or a second layer of board.
This Old House and Family Handyman both note that scan depth and wall material drive detector choice, and our field experience matches that.
Safety also belongs in the plan. OSHA guidance on construction work reminds crews to identify concealed electrical and mechanical lines before drilling into any wall.
A stud finder with AC wire detection helps reduce the risk of hitting a live line, though it does not replace a proper lockout on active circuits.
Which Stud Finder Type Fits Your Wall?
Not every detector suits every job.
The table below compares the main types by detection depth, price, and best use.
| Stud Finder Type | Detection Depth | Price Range | Best Use Case |
|---|---|---|---|
| Magnetic | Surface fasteners only | $10–$25 | Quick checks, locating screws in drywall |
| Edge-finder (electronic) | ~0.75 in | $15–$40 | Standard single-layer drywall framing |
| Center-finding (electronic) | ~1.5 in | $25–$60 | Faster marking, thicker board |
| Deep-scan / multi-sensor | ~1.5–3 in | $40–$100+ | Plaster, double drywall, tile, or steel studs |
Our analysis suggests most framing crews carry a center-finding model for daily work and keep a deep-scan unit for problem walls.
Matching the tool to the wall is part of knowing how to use a stud finder well, not just owning one.
PhET Circuit Construction Kit for Builders
How Does This Improve Your Next Build?
Accurate stud location protects the whole connection. The fastener holds, the load transfers, and the finished work stays put.
If you have been following structural framing trends across the Midwest, this attention to concealed conditions will not surprise you.
The cost of a good detector is small next to the cost of re-mounting a run that pulled loose. We treat how to use a stud finder as a foundational field skill, right alongside squaring a wall and reading a plan.
Get the first mark right, confirm it against the spacing grid, and the rest of the framing work follows cleanly.
Tell us where your project stands and what your walls need to carry, and we can help you plan fastening details that hold up over time.