A single stripped screw can stall a framing crew, throw off an install schedule, and eat into your margins before lunch.
Knowing how to remove a stripped screw fast keeps your crew moving and your build on track.
We put this guide together because clean fastener removal is now a real efficiency lever in modern construction technology workflows.
Construction Company Proposal and Estimate Closing Rate Problems
Key Takeaways
- Locking pliers are the most reliable fix for any screw head that protrudes from the surface.
- Flush or recessed screws call for a rubber band, a screw extractor bit, or a flathead screwdriver trick.
- Following OSHA and NIOSH power tool guidance keeps removal safe and prevents repeat injuries on site.
What Causes Screws to Strip on the Job Site?
Stripped screws usually come from a mismatch between the driver bit and the screw head.
Cam-out happens when a worn Phillips bit slips under torque, chewing the head until it can’t grip.
Our contractors note that overdriving with high-torque impact drivers is a top cause on structural framing and outdoor living installs.
According to guidance from Apartment Therapy, the right removal method depends on how much of the head sits above the surface.
A screw buried in a stud needs a different approach than one sitting proud on a deck board.
We found that matching the method to the situation saves the most time.
The Five Methods We Rely On
Each method below covers a different scenario your crew will hit. Work through them in order of how much head is exposed.
1. Locking Pliers (Most Reliable for Protruding Screws)
Locking pliers grip the outside of the head rather than the damaged slot, which is why we reach for them first.
- Clamp the locking pliers firmly around the exposed screw head.
- Lock the jaws so you don’t have to keep squeezing.
- Turn counter-clockwise until the screw backs all the way out.
Elon Musk Terafab Construction Plan What It Signals
2. Super Glue + Disposable Allen Wrench (Recessed, Horizontal Screws)
This trick works when the head is sunk too far for pliers to reach.
Skip it on walls or vertical surfaces, since the adhesive won’t stay put while it sets.
- Dot super glue into the damaged screw head.
- Seat a disposable Allen wrench into the glue and tape it upright.
- Let it cure for roughly 24 hours.
- Grip the wrench and twist counter-clockwise to pull the screw free.
3. Rubber Band + Screwdriver or Drill (Lightly Stripped, Flush Screws)
A thick rubber band adds the traction a worn bit lost.
- Lay a rubber band flat over the flush screw head.
- Press your screwdriver or drill bit into the head through the band.
- Keep steady downward pressure and turn counter-clockwise until it’s out.
4. Drill + Metal Bit + Extractor Bit (Badly Stripped Screws)
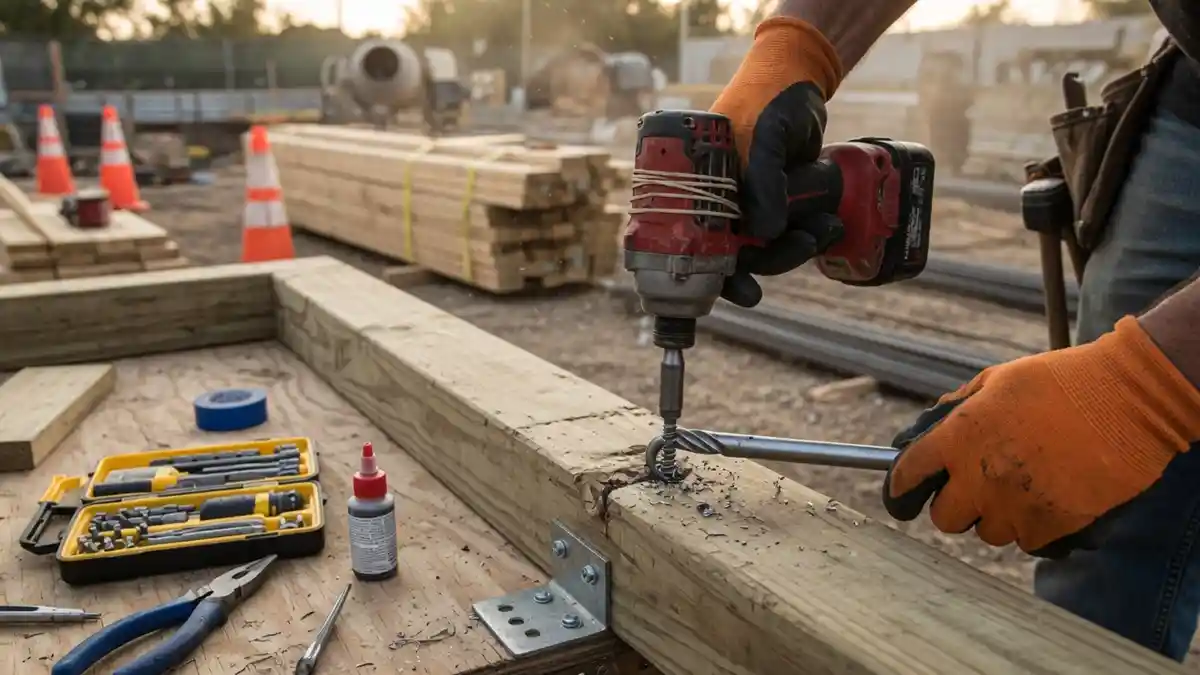
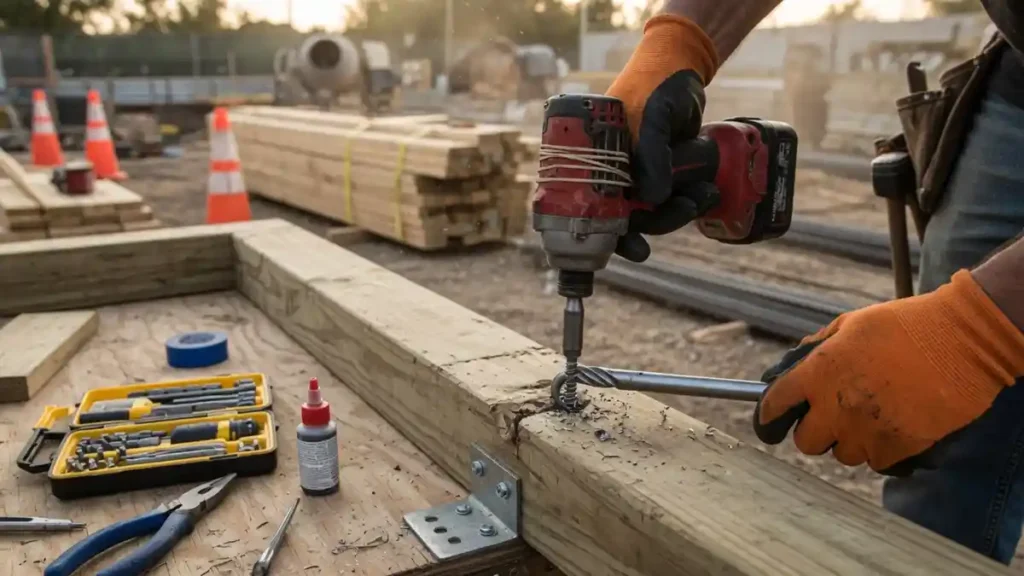
When the head is fully rounded, a dedicated screw extractor bit is your best shot.
- Fit a metal drill bit and bore a small pilot hole in the center of the screw.
- Swap in the extractor bit, which uses reverse teeth to bite the hole.
- Run the drill in reverse so the threads grip and back the screw out.
5. Flathead Screwdriver (Stripped Phillips Heads)
A stripped Phillips head often still has room for a flathead screwdriver.
- Seat a flathead screwdriver into one straight slot of the damaged head.
- Tap the handle gently with a hammer to set it if needed.
- Turn counter-clockwise, easing off to avoid gouging the surface.
Foundation Underpinning Methods That Hold
Which Method Works Best for Midwest Construction Crews?
Our analysis suggests the right pick comes down to head exposure, material, and how much time you have. Use this table to choose fast on site.
| Method | Best For | Difficulty | Tools Needed |
|---|---|---|---|
| Locking pliers | Protruding screw heads | Easy | Locking pliers |
| Super glue + Allen wrench | Recessed screws, horizontal | Medium (24-hr cure) | Super glue, disposable Allen wrench, tape |
| Rubber band + driver | Lightly stripped, flush screws | Easy | Rubber band, screwdriver or drill |
| Drill + extractor bit | Badly stripped, rounded heads | Hard | Drill, metal bit, extractor bit |
| Flathead screwdriver | Stripped Phillips heads | Easy | Flathead screwdriver, hammer |
Construction industry insiders are noting that keeping an extractor bit set in every truck cuts downtime dramatically.
If you’ve been following construction technology trends across the Midwest, this won’t come as a surprise.
Speed on the small stuff is what protects the schedule.
How Will This Impact Your Next Build?
Every one of these methods runs on a power drill, pliers, or a hammer, so safety still matters.
Per OSHA’s hand and power tools guidance, improper use of simple tools causes some of the most serious job-site injuries.
Wear eye protection when drilling out a screw, since metal fragments can fly during extraction.
The NIOSH power hand tool safety brief reinforces that drills carry real risk when handled carelessly.
We treat safe removal as part of the job, not an afterthought.
Underpinning Foundation Methods That Work
How to Remove a Stripped Screw on Job Sites
— US News (@Us_news_ways) August 17, 2026
Knowing how to remove a stripped screw fast keeps your crew moving and your build on track.@MakitaTools @MilwaukeeTool @DEWALTtough https://t.co/sdSbD9noDJ
On-Site Prevention Tips
Stopping strips before they start beats knowing how to remove a stripped screw after the fact.
- Match the bit exactly to the screw head, and replace worn bits often.
- Set your impact driver to the right torque so you don’t overdrive.
- Keep steady, straight pressure to avoid cam-out.
- Pre-drill pilot holes in dense lumber and hardwood decking.
- Stock locking pliers and an extractor bit set in every crew’s kit.
Master these five approaches and how to remove a stripped screw stops being a schedule-killer.
Keep this guide in the truck, brief your crew, and reach out to the Midwest Precast Contractor team for more field-tested workflow tips that keep your next build moving.