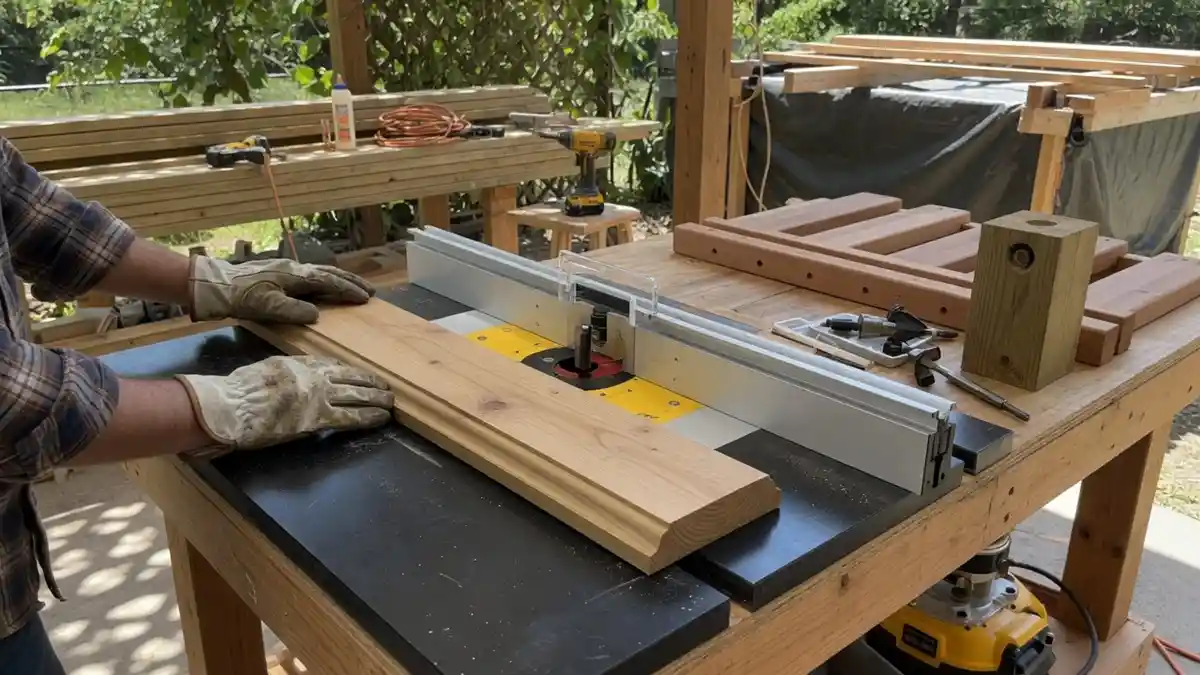
Custom pergolas, decorative deck railings, and weather-ready trim are driving demand across the Midwest. Knowing how to use a router table gives your crew clean profiles and tight joinery without farming work out.
Our team observed that in-house millwork trims days off outdoor living projects and protects your margins.
How to Use a Stud Finder Before You Frame
Key Takeaways
- A router table turns a handheld router into a small shaper, freeing both hands to guide stock for cleaner outdoor trim and millwork.
- Correct setup and feed direction matter most: always feed against the bit’s rotation to avoid dangerous kickback.
- Following OSHA woodworking standards and NIOSH dust controls keeps your shop compliant and your crew safe.
Why does this matter for outdoor builds now?
Outdoor living spend keeps climbing, and clients want detailed woodwork that survives Midwest winters.
Construction industry insiders are noting that shops handling their own molding, rabbets, and rails control both quality and schedule.
Our analysis suggests that learning how to use a router table pays off fastest on repeat trim runs.
Mounting a router in a table transforms a shop MVP into a precision tool.
This setup lets you use stops, fences, and hold-downs while watching exactly what the bit does.
The router table basics guide from Woodcraft lays out the core workflow we follow.
Disneyland Entrance Construction Update Tech Signal
How do you set up a router table correctly?
Getting the setup right is where good outdoor millwork begins. If you’ve been following outdoor living trends across the Midwest, this precision won’t surprise you.
Here is the sequence our contractors trust when they show new hands how to use a router table.
- Level the insert. An insert sitting above or below the top can ruin a cut or stall a workpiece mid-pass. Commercial tables use set screws; a shop-made top can rely on masking tape or metal shims.
- Set the bit height. Use a combination square standing beside the bit, stack key blocks by feel, or grab a digital tool like the Wixey Mini Height Gauge for line-splitting accuracy. Plan on a few test cuts either way.
- Set the fence. Measure across the bit’s centerline from the front, then rotate the bit to check the tip-to-fence distance. Fine-tune from the back with stop blocks and shims, since moving one end of the fence is halved at the bit.
- Choke up on the bit. The gap around the bit can snag an edge, so drop in a close-fitting ring. On tables without zero-clearance rings, clamp on an auxiliary fence and slide the faces until they nearly touch the cutter.
How to Use a Router Table for Outdoor Builds
— US News (@Us_news_ways) August 20, 2026
Custom pergolas, decorative deck railings, and weather-ready trim are driving demand across the Midwest. Knowing how to use a router…@ThisOldHouse @fwmagazine @woodworking https://t.co/xpYEHbSyyC
Which way should you feed the stock?
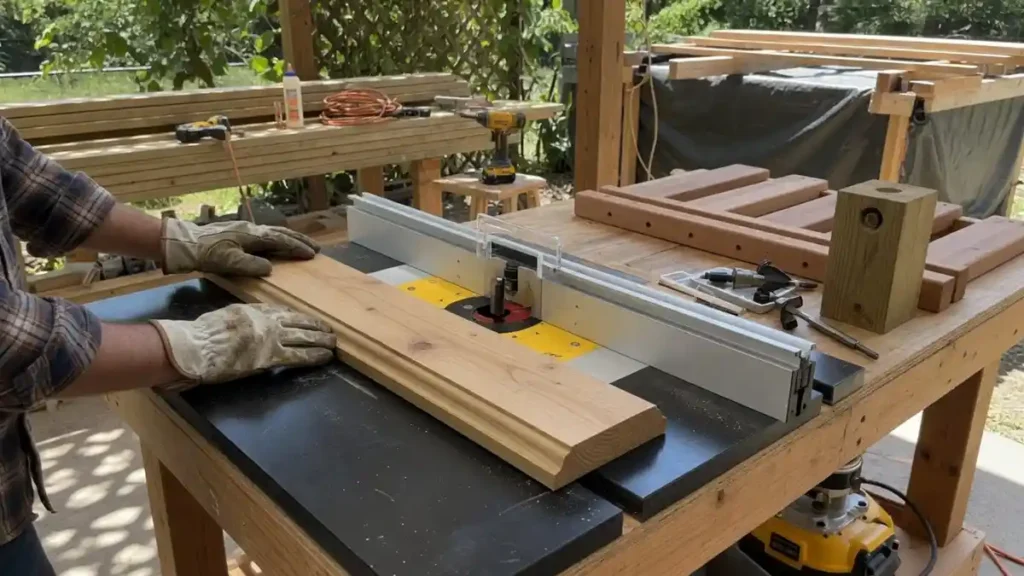
Feed direction is the single most important habit when learning how to use a router table. Always push the work against the cutter’s rotation, which is right to left on most tables.
That rotation drives the piece into your fence or guide pin and keeps it steady.
Never climb cut.
Feeding with the bit’s rotation pushes stock away from the fence, wears a scalloped edge, and can rip the piece from your hands.
For curved outdoor parts, brace against a guide pin, then pivot into the bit so the bearing draws the work in.
A featherboard adds steady pressure and keeps fingers clear during long rail runs. Keep push blocks and scrap nearby for safe stock feeding.
Slow, controlled passes beat rushed ones every time.
Milwaukee 1/2 Impact Reshapes Precast Fastening
How do you profile edges and cut joinery?
Once feed direction is second nature, the profiling and joinery work opens up.
This is where knowing how to use a router table earns its keep on outdoor trim.
- Rabbets: Skip the bearing-guided bit and run a straight bit against an auxiliary fence face. Light passes give clean shoulders on deck skirting and cap trim.
- Tenons: Guide stock with a miter gauge, using the fence as a depth stop. A large planing bit produces smooth cheeks in fewer passes for pergola joints.
- Dadoes: Add an auxiliary fence to close the mid-fence gap and an MDF backer to control exit tear-out on wide boards.
- Stopped grooves: Mark the bit’s perimeter on the fence, clamp stops at each end, plunge the leading edge onto the spinning bit, slide to the far stop, then shut off and wait for the bit to stop before lifting.
For wide outdoor molding, rout the profile on wide stock first, then rip the strip free.
That keeps hands away from the bit and cuts chatter.
Router table vs. handheld router for outdoor work?
Both tools have a place, but our crews reach for the table when precision and repeatability matter.
| Factor | Router Table | Handheld Router |
|---|---|---|
| Best for | Repeat trim, molding, joinery | Large panels, on-site edges |
| Control | Both hands free to guide stock | One hand steadies the base |
| Big bits | Handles large bits safely | Limited by grip and balance |
| Long strips | Excellent with fence support | Harder to keep steady |
| Setup time | Higher upfront, faster on runs | Fast for one-off cuts |
| Visibility | See the bit at work | Bit hidden under base |
For outdoor millwork produced in batches, the table wins on speed and consistency.
Average Cost to Build a House 2025 Precast Wins
What safety standards should your shop follow?
Router work is not foolproof, and outdoor lumber often runs dense and knotty. The OSHA woodworking standards address machine guarding and safe operation for general industry shops.
Our team treats those requirements as the baseline, not the ceiling.
Dust is the other hidden hazard, especially with treated and exotic outdoor species. NIOSH wood dust hazard controls recommend proper collection at the source and regular duct inspection.
Check V-belts, clear ducts on a schedule, and pair collection with fitted respiratory protection.
Learning how to use a router table well means building safety into every pass. Level the insert, feed against rotation, guard the bit, and control the dust.
Do that consistently, and your outdoor builds get sharper while your crew stays protected.