What Exactly Are Flashing Paint Defects?
In the world of professional painting, “flashing” refers to an uneven appearance in the paint’s finish. Instead of a smooth, consistent coat, you see patches that appear more matte or more glossy than the rest of the surface.
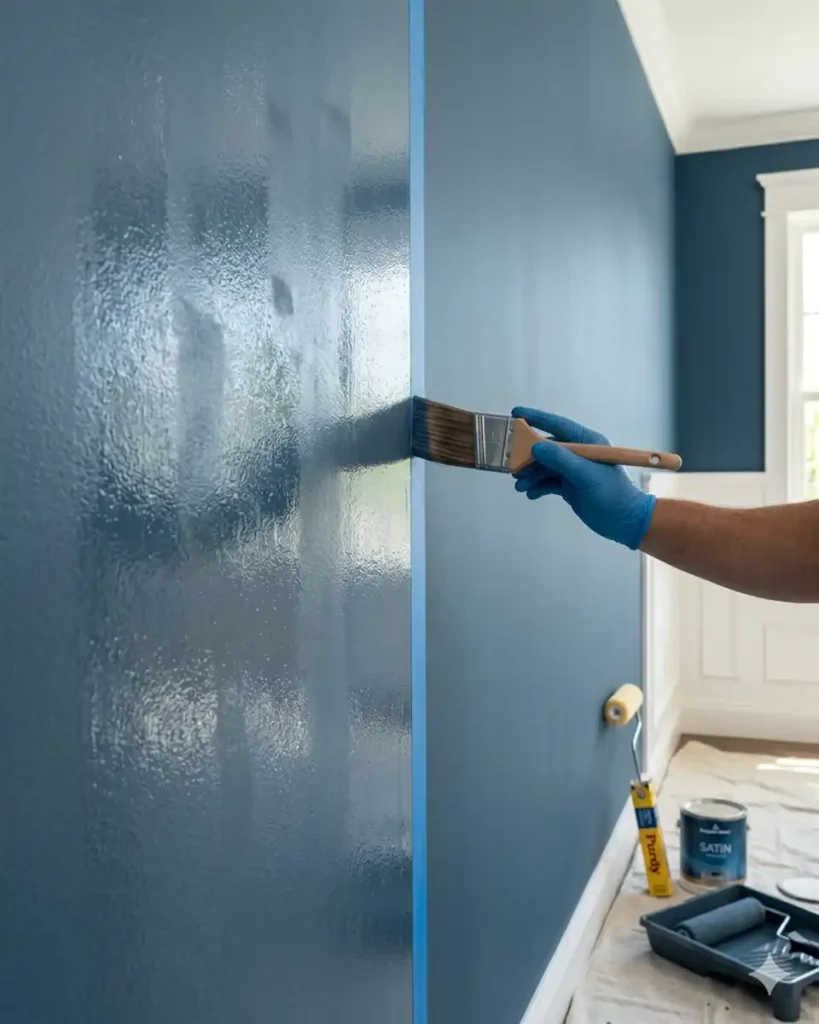
These flashing paint defects are usually most visible when viewing the wall from an angle or under bright, natural light. It essentially looks like the “lap marks” or “halos” left behind by a roller or brush have been frozen in time.
Why Does Flashing Happen?
At its core, flashing occurs because of uneven absorption or varying film thickness. If the substrate (the wall) is more porous in some areas than others, it sucks the moisture out of the paint too quickly, leaving the pigment and resin sitting unevenly on the surface.
Can U Paint Cement? The Ultimate Guide to Reviving Your Concrete Surfaces
Common Causes of Flashing in New Paint
Understanding the root cause is the first step toward a solution. Most flashing paint defects stem from one of the following issues:
1. Skipping the Primer
This is the number one culprit. Bare drywall, joint compound (mud), and patches are incredibly thirsty. If you don’t seal them with a high-quality primer, they will absorb the binder in your paint, resulting in a duller appearance in those specific spots.
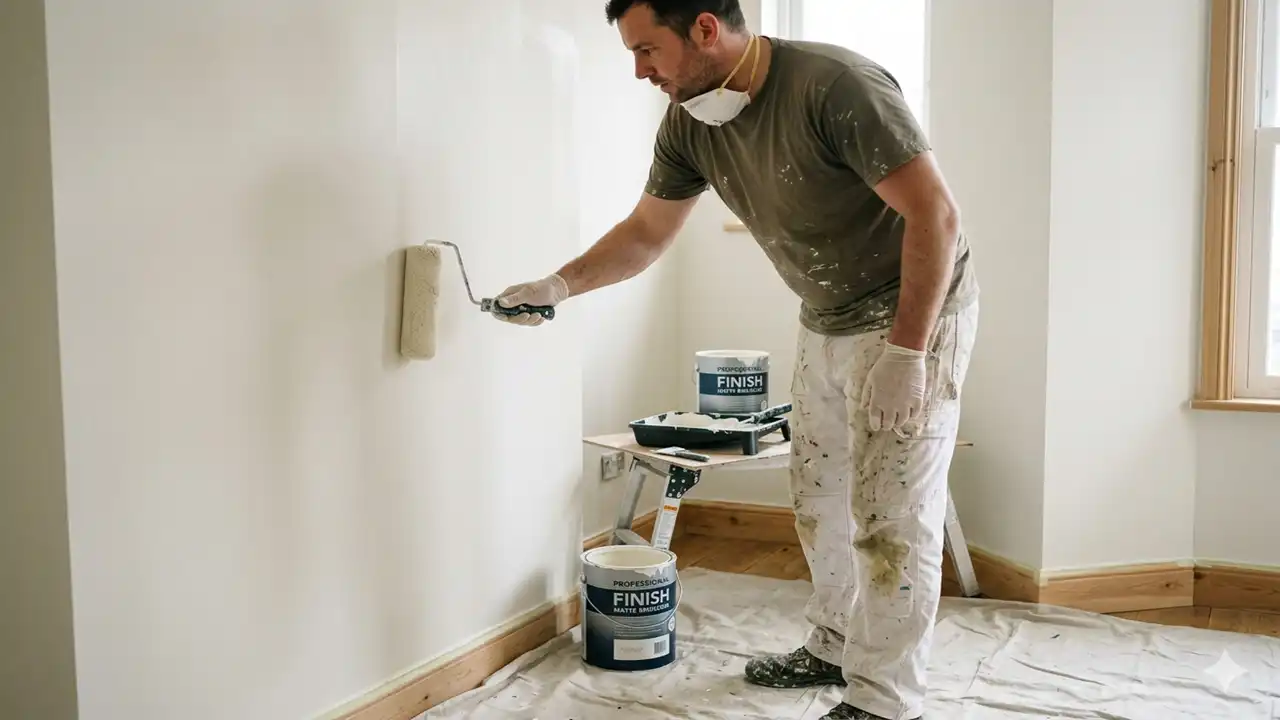
2. Poor “Wet Edge” Management
When painting a large surface, you must always “work back” into the wet paint. If a section begins to dry and you roll over it again, you are essentially adding a second layer of sheen on top of a semi-dry layer. This creates visible overlaps known as flashing paint defects.
3. Inconsistent Stirring
Paint is a chemical cocktail. Over time, the solids and gloss-inducing agents can settle at the bottom of the can. If the paint isn’t stirred thoroughly and frequently, the sheen level will actually change as you move through the gallon.
4. Environmental Conditions
If the room is too hot or the humidity is too low, the paint dries too fast. This makes it nearly impossible to maintain a wet edge, leading to streaks and patches.
How to Identify Flashing Paint Defects on Your Walls
Not every wall imperfection is flashing. To confirm you are dealing with flashing paint defects, perform the “Light Test”:
- Check the Sheen: Stand at the far end of the room and look across the wall toward a window. If you see “streaks” that look shinier than the rest, that’s flashing.
- Feel the Texture: Run your hand over the patch. If the texture is the same but the color looks different, it’s a sheen issue.
- Inspect the Patches: If you recently patched a hole with spackle and that specific spot looks like a “cloud,” the patch wasn’t sealed properly.
The Ultimate Guide to Concrete Sealer: Protecting and Enhancing Your Surfaces
Professional Solutions: Fixing Flashing After it Happens
If you’ve already finished the job and noticed flashing paint defects, don’t panic. You don’t necessarily have to strip the wall, but you will likely need to do more than just “spot touch-up.”
- The “Sand and Re-coat” Method: Generally, you cannot just paint over a flash spot; it will often just make the spot thicker and more noticeable. Lightly sand the entire wall with fine-grit sandpaper (220 grit) to level the sheen, wipe away the dust, and apply a fresh, continuous coat of paint from corner to corner.
- Prime the Problem Areas: If the flashing is caused by a porous patch, apply a dedicated sealer or primer to that spot first, let it dry, and then re-paint the whole wall.
- Upgrade Your Paint: Higher-quality paints have better “leveling” properties, meaning they stay wet longer and flow together more easily, naturally reducing the risk of flashing paint defects.

Pro Tips to Prevent Flashing in Future Projects
Prevention is much easier than a cure. Follow these professional standards to ensure a uniform finish:
- Always Prime Drywall: Never trust a “Paint + Primer” in one for fresh drywall or large patches. Use a dedicated PVA primer.
- Maintain a Wet Edge: Paint in vertical strips, overlapping each stroke. Never let the edge of your work dry before you connect it to the next section.
- Load the Roller Correcting: Don’t try to squeeze every drop of paint out of the roller. If the roller starts making a “sticky” sound, it’s too dry. Re-load!
- Box Your Paint: If using multiple cans of the same color, mix them together in a large 5-gallon bucket. This ensures total color and sheen consistency.
Concrete Resurfacing: The Ultimate Guide to Reviving Your Surfaces
FAQ
Can I fix flashing by just painting over the shiny spot?
Usually, no. “Spotting in” often creates a new ring or halo around the repair. For flashing paint defects, the best results come from painting the entire wall from one break-point (like a corner) to the other.
Does the type of paint finish affect flashing?
Yes. Higher gloss levels (semi-gloss, gloss) are much more prone to flashing because they reflect more light. If you are working on a wall with many imperfections, a “Flat” or “Matte” finish is much more forgiving.
Does temperature affect how paint flashes?
Absolutely. Painting in extreme heat causes the solvents to evaporate too quickly. Ideally, you should paint in temperatures between 60°F and 80°F (15°C – 26°C).
Achieving the Perfect Finish
Dealing with flashing paint defects can be a major headache, but it’s a hurdle that every pro has had to clear at some point. By focusing on proper surface preparation, using high-quality primers, and mastering your rolling technique, you can achieve that smooth, professional look that transforms a room.